Micro Four Thirds cameras are frequently criticized due to their sensors being smaller than full frame, which makes it harder for photographers to get the “look” that’s become emblematic of large sensors: shallow depth-of-field, smooth highlight transitions and lots of dynamic range. These characteristics were usually present (with the exception of the last, which is a thoroughly modern innovation) in analogue cameras of 35mm film size and above. You had exceptions, such as the limited highlight range of slide film, but in general, the combination of large film area plus sensitivity that was more limited than a digital sensor required that large aperture sizes would be used more frequently to ensure adequate light. There you have your shallow depth-of-field – interestingly, it was more often a by-product of the format that could not be avoided than an aesthetic choice in many photographic genres. However this look became the look of “professional” digital work since (especially in the early digital days) large apertures and larger sensor sizes were usually expensive, and the cameras marketed to consumers tended to have very small sensors, resulting in huge depth-of-field and not much out-of-focus blur, at least not of the creamy, bokeh-y kind.
Highlight transitions were generally better looking with film, due to the fact that the crystals in a film emulsion were slower to “fill up” than a digital pixel. Incidentally, film is not great at handling shadows, another reason for the shallow depth-of-field since photographers wanted to get plenty of light on the film. Modern, high-bitrate RAW files are much better at handling highlights than earlier sensor technology, but, to come back around to Micro Four Thirds, the size of the four thirds sensor and the technology that is currently available in this format make highlight capture a bit less smooth than some would like.
Fortunately, there are ways to mitigate the issues people raise with Micro Four Thirds sensors most of the time, which is why I keep shooting with them. The system is incredibly versatile, with lenses for nearly any conceivable use case. The cameras are also jacks-of-all-trades, which, while maybe not the most satisfying from a purely traditional standpoint, makes them incredibly capable for whatever I might need to shoot. I recently upgraded my venerable Panasonic GX85 for the GX9, which offers the newer 20MP sensor and a few behind-the-scenes refinements, in a mid-range body that is very similar to the existing design.
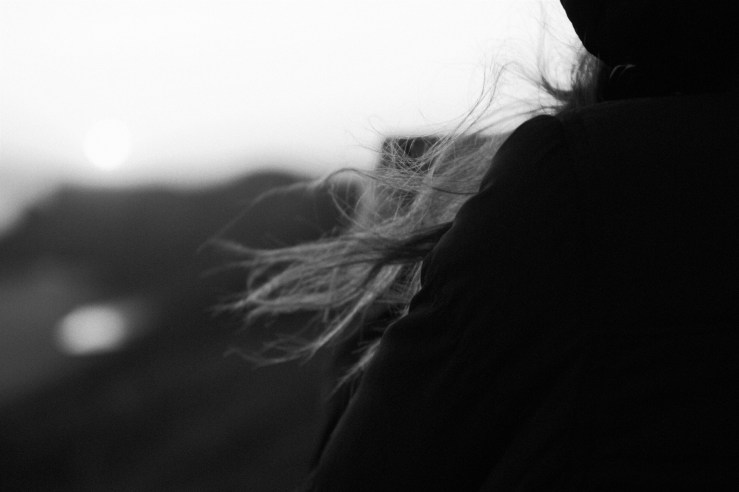
One of the things I wanted to try out on this camera is the new black and white JPEG mode called L Monochrome D. I have enjoyed the original L Monochrome mode since the GX85, which I wrote about in an earlier article. The new mode is a refinement of the old one (L Monochrome is also included in the GX9), and mainly differs in having more contrast between the shadow and highlight regions. This was something I wanted from the beginning, as the original L Monochrome mode felt a bit too digital in that the tones from darkest to lightest still tended to have the flat look that is a hallmark of digital sensors with their emphasis on preserving highlight detail. L Monochrome D allows the whites to appear whiter, instead of flat gray, while still having a gentle and film-like transition to the brightest parts. This is something I was eager to test.

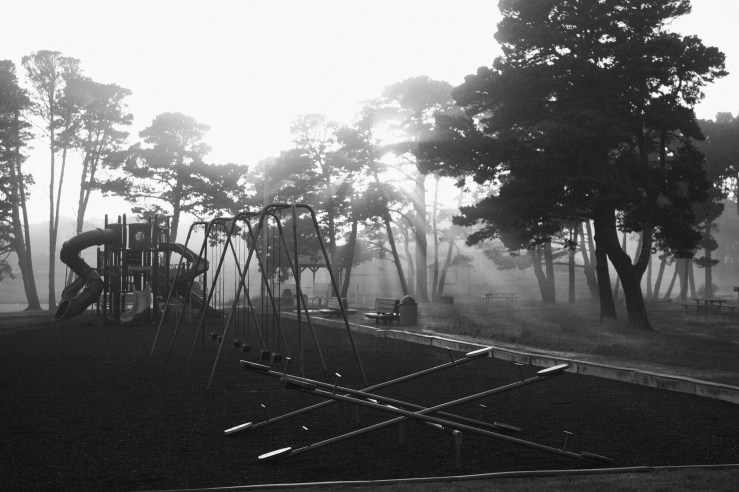
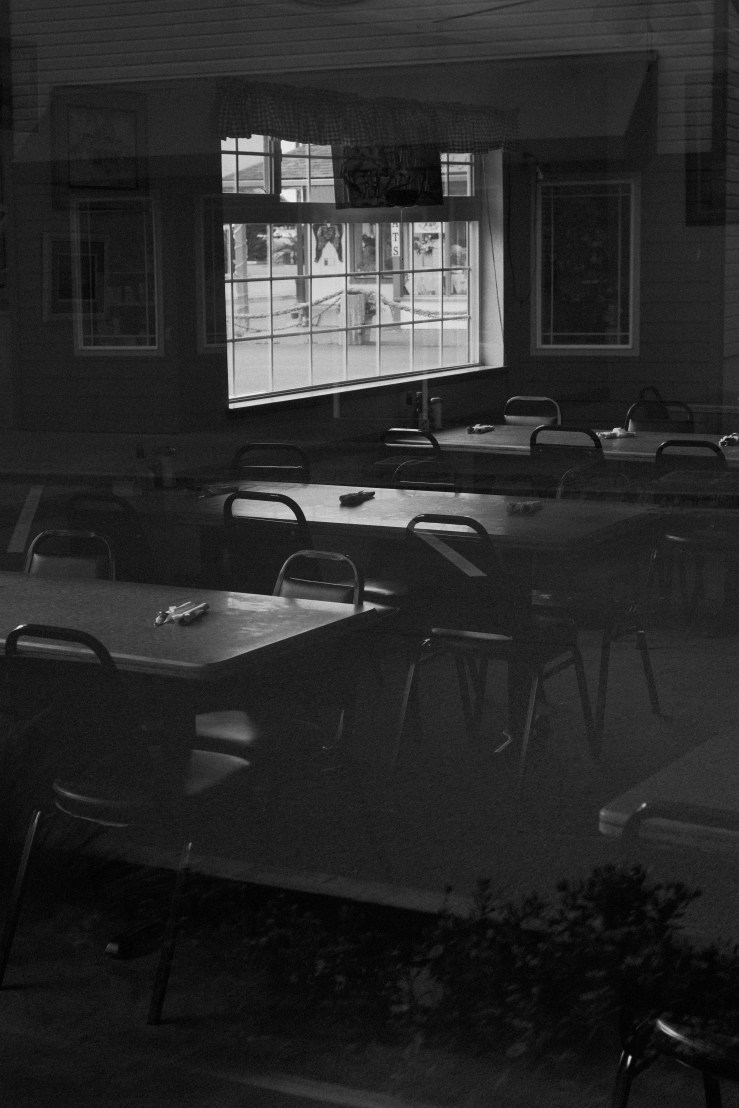
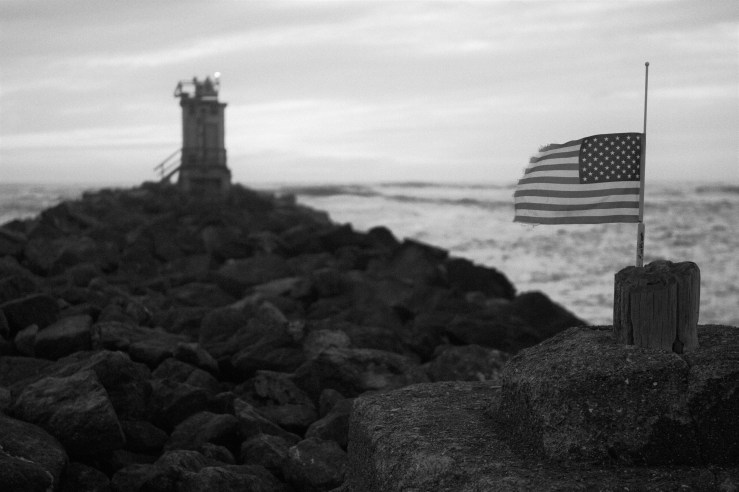
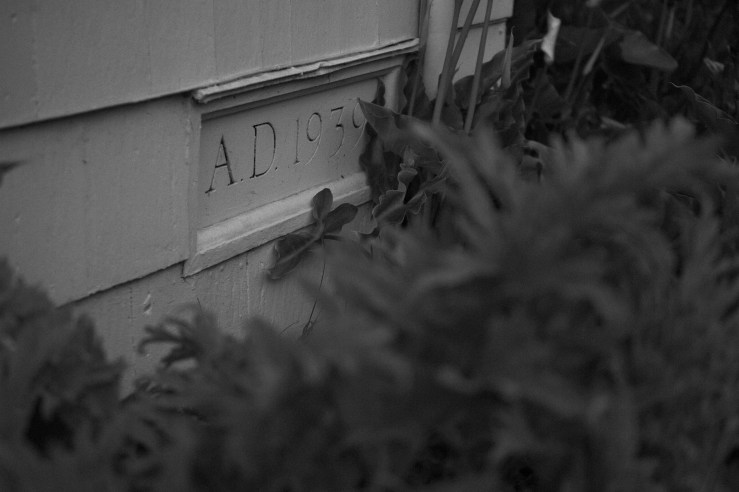
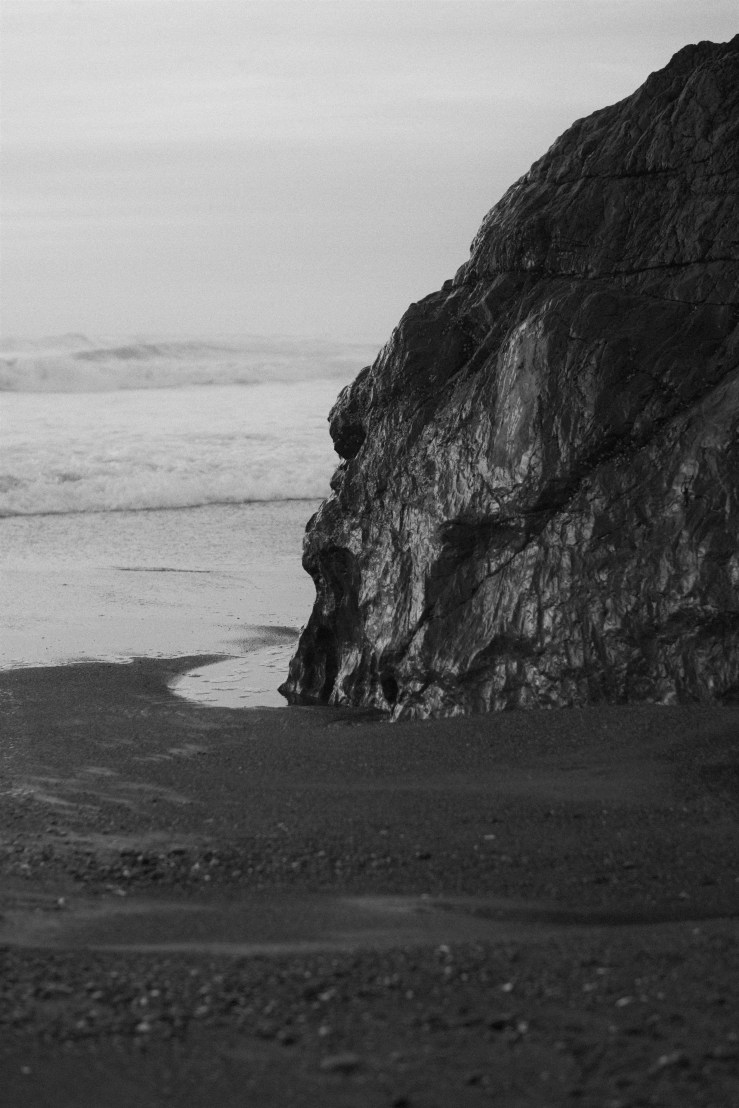
April was an unusual month for many of us, to say the least. Most of the world’s population has been somewhere between stay-at-home orders due to coronavirus, either entering into, exiting from, or smack in the middle of, as I was. Given the monotony of my circumscribed existence, I jumped at the chance to participate in a one-a-day photo challenge for the month of April that was put on by a photography forum I am a part of. In addition to the regular snapping of photos, I decided to limit myself to a single camera, lens and processing style. I chose the Panasonic GX9, the Sigma 30mm f1.4 MFT, and L Monochrome D JPEG mode, processed entirely in-camera. I aimed for a film look, and I was quite pleased with the results.
Some guidelines I came up with at the outset helped bring out the maximum filmic look of this JPEG style: for starters, I wanted to maximize the shallow depth-of-field look that the larger maximum aperture of the lens offered. So I shot at f1.4 whenever feasible, or as close to wide open as possible. A neutral density filter would have come in handy, but I didn’t have one for the filter size required by this lens, so I used a polarizing filter occasionally as a makeshift ND filter. Not every scene called for shallow depth-of-field, but remember, I wanted to replicate the unavoidably shallow look that handholding a camera with relatively slow black and white film would give. Next, I shot RAW only and developed my chosen image for the day (or sometimes several) in the camera. Panasonic doesn’t offer the most robust in-camera editing features (shout out to the Ricoh GR III, which has some of the best options I’ve used), but I’m used to them and generally they are quite functional. As long as I got the generally correct exposure at time of capture, I had an easy time applying the hallmark look of the camera’s black and white mode. I shoot with a color EVF/LCD, even though the option is there to shoot with L Monochrome D already applied to live view. It is easier to see what exposure I am getting in color than black and white, which will give me the easiest time editing the files.
The particular settings which gave me the look I wanted were decreasing sharpness and contrast a couple of points below default, as well as adding a slight amount of grain – another new feature for the GX9. I don’t find Panasonic’s implementation of film grain to be particularly good, but at its lowest setting it is quite tolerable. Desktop software like Nik Silver Efex or VSCO for mobile can give you a more natural looking grain structure, but that would have been more processing effort than I was looking for. Default sharpening and contrast for a digital camera like this generally looks good on a screen, but doesn’t have the “organic” look that film negatives have. Lessening these a little allows for softer transitions that look gentler and more fluid, closer to what I am getting when I develop and scan black and white film using DF96 monobath and a flatbed scanner (these scanners produce very flat images which need some post-processing to correct, but are relatively inexpensive and easy to use).
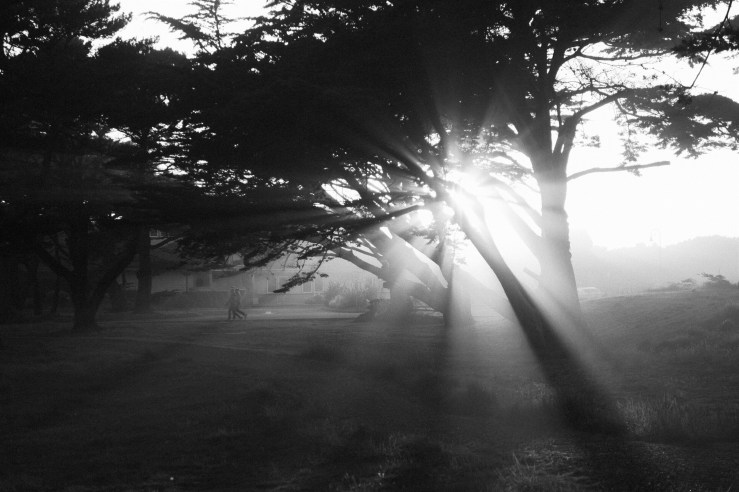
Perhaps “gentle and fluid” is the best byline for this style. It also helps when your lighting is frequently overcast, and/or you set out to shoot in the early morning or late evening. April is often cloudy and foggy where I live, so the series was well-suited. If I wanted to be artsy, consider the project to be capital-A ‘Art’ (which is usually best left to others to decide, over a long time period, rather than during the making of anything), I might consider the gray, the fog, the blur, the lack of sharp edges, to be emblematic of the month we all felt, but the reality is, these kinds of meaning are in the eyes of the beholder, and the syllabi of art teachers. We’re down on the ground, where simply making things, and the sense of personal fulfilment that comes from making an internal vision into the physical, are the most lasting effects of the photographs.